スクロールウィジェット RecyclerView の使い方
RecyclerView.Adapter の実装をさらに進める
アダプターの2つのメソッドを使うことで、ビューの保持と各コントロールへの値の設定ができます。
public ViewHolder onCreateViewHolder

public void onBindViewHolderCode language: PHP (php)
package com.foxdevelop.www.recyclerviewtest;
import android.annotation.SuppressLint;
import android.support.annotation.NonNull;
import android.support.v7.widget.RecyclerView;
import android.view.LayoutInflater;
import android.view.View;
import android.view.ViewGroup;
import android.widget.ImageView;
import android.widget.TextView;
import java.util.List;
public class BookAdapter extends RecyclerView.Adapter<BookAdapter.ViewHolder> {
private List<Book> books;
// RecyclerView.ViewHolder を継承した内部静的クラスを定義
static class ViewHolder extends RecyclerView.ViewHolder
{
ImageView imageUI;
TextView textViewUI;
public ViewHolder(View view)
{
super(view);
this.imageUI = (ImageView)view.findViewById(R.id.image_view);
this.textViewUI = (TextView)view.findViewById(R.id.text_view);
}
}
public BookAdapter(List<Book> books)
{
this.books = books;
}
@NonNull
@Override
public ViewHolder onCreateViewHolder(@NonNull ViewGroup parent, int viewType) {
View view = LayoutInflater.from(parent.getContext()).inflate(R.layout.book_list,parent,false);
ViewHolder viewHolder = new ViewHolder(view); // RecyclerView のアイテムビューを ViewHolder に渡す
return viewHolder;
}
@Override
public void onBindViewHolder(@NonNull ViewHolder holder, int position) {
Book book = books.get(position); // 現在の書籍を取得
holder.textViewUI.setText(book.getName()); // 2つのコントロールにそれぞれ値をセット
holder.imageUI.setImageResource(book.getImageId());
}
@Override
public int getItemCount() {
return books.size();
}
}Code language: JavaScript (javascript)<?xml version="1.0" encoding="utf-8"?>
<LinearLayout xmlns:android="http://schemas.android.com/apk/res/android"
android:layout_width="match_parent"
android:layout_height="wrap_content">
<ImageView
android:id="@+id/image_view"
android:layout_width="wrap_content"
android:layout_height="wrap_content"
/>
<TextView
android:id="@+id/text_view"
android:layout_width="wrap_content"
android:layout_height="wrap_content"
android:layout_marginLeft="12dp"
android:layout_gravity="center"
/>
</LinearLayout>Code language: HTML, XML (xml)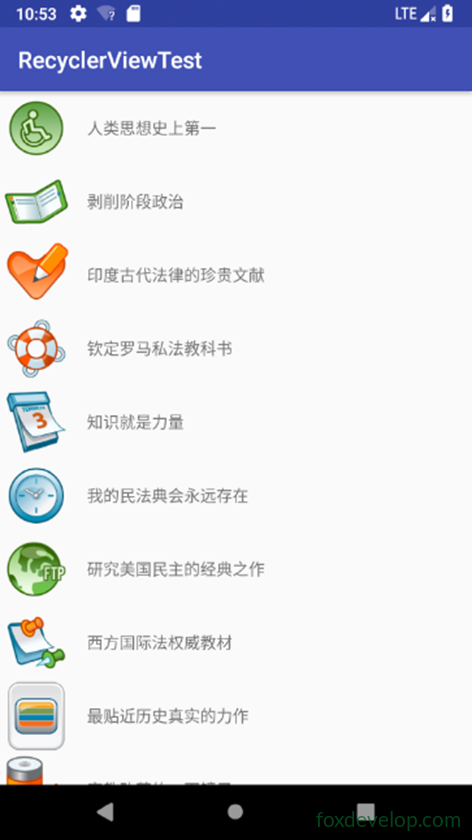
RecyclerView の横スクロール(横向き)レイアウト
RecyclerView で横スクロールを実装するのはとても簡単
ListView ではこれができません。
まずは book_list レイアウトを修正します。
book_list レイアウトの修正
<?xml version="1.0" encoding="utf-8"?>
<LinearLayout xmlns:android="http://schemas.android.com/apk/res/android"
    android:orientation="vertical"
    android:layout_width="100dp"
    android:layout_height="wrap_content">
    <ImageView
        android:id="@+id/image_view"
        android:layout_width="wrap_content"
        android:layout_height="wrap_content"
        android:layout_gravity="center_horizontal"
        />

    <TextView
        android:id="@+id/text_view"
        android:layout_width="wrap_content"
        android:layout_height="wrap_content"
        android:layout_marginTop="12dp"
        android:layout_gravity="center_horizontal"
        />
</LinearLayout>Code language: HTML, XML (xml)
LinearLayoutManager の向きを設定する
public class MainActivity extends AppCompatActivity {
    private List<Book> courses = new ArrayList<Book>();

    @Override
    protected void onCreate(Bundle savedInstanceState) {
         ………………
        linearLayoutManager.setOrientation(LinearLayoutManager.HORIZONTAL);
        recyclerView.setLayoutManager(linearLayoutManager);
         ……………..
    }Code language: PHP (php)
RecyclerView のウォーターフォール(ストaggered)レイアウト
RecyclerView はレイアウトをレイアウトマネージャーに委譲しているため、柔軟にレイアウトを変更できます。
横方向の並び以外にも、RecyclerView は以下をサポートしています:
GridLayoutManager によるグリッドレイアウト
StaggeredGridLayoutManager によるウォーターフォールレイアウト
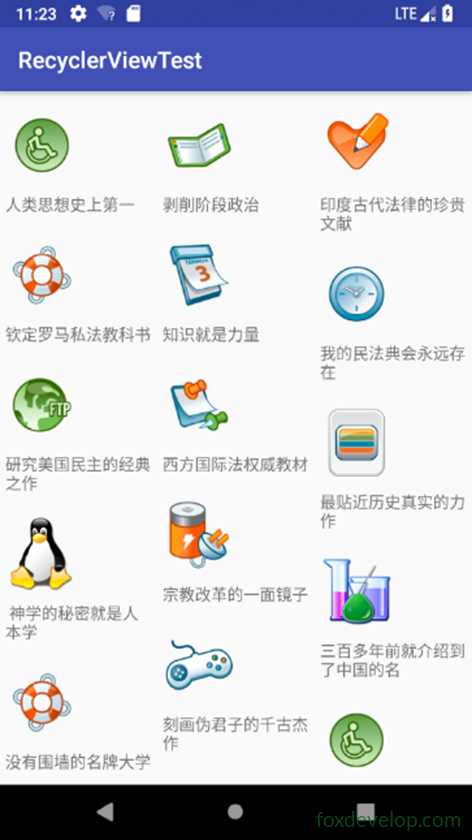
ウォーターフォールレイアウトの設定 – book_list ビューの修正
<?xml version="1.0" encoding="utf-8"?>
<LinearLayout xmlns:android="http://schemas.android.com/apk/res/android"
    android:orientation="vertical"
    android:layout_width="match_parent"
    android:layout_height="wrap_content"
    android:layout_margin="5dp"
    >
    <ImageView
        android:id="@+id/image_view"
        android:layout_width="wrap_content"
        android:layout_height="wrap_content"
        android:layout_gravity="left"
        android:layout_marginTop="10dp"
        />

    <TextView
        android:id="@+id/text_view"
        android:layout_width="wrap_content"
        android:layout_height="wrap_content"
        android:layout_marginTop="10dp"
        android:layout_gravity="left"
        />
</LinearLayout>Code language: HTML, XML (xml)
RecyclerView にウォーターフォールレイアウトを設定する
protected void onCreate(Bundle savedInstanceState) {
    super.onCreate(savedInstanceState);
    setContentView(R.layout.activity_main);
    LoadBooks();
    RecyclerView recyclerView = (RecyclerView)findViewById(R.id.testrecy);
    StaggeredGridLayoutManager sg = new StaggeredGridLayoutManager(3,StaggeredGridLayoutManager.VERTICAL);
    recyclerView.setLayoutManager(sg);
    BookAdapter bookAdapter = new BookAdapter(courses); // アダプター初期化時にデータソースを渡す
    recyclerView.setAdapter(bookAdapter);
}Code language: JavaScript (javascript)
RecyclerView のグリッドテーブルレイアウト
グリッドレイアウトとウォーターフォールレイアウトの違いは、グリッドでは各セルの幅と高さが統一されている点です
一方、ウォーターフォールレイアウトではアイテムの高さがバラバラになる場合があります
修正はとても簡単です
GridLayoutManager layoutManager = new GridLayoutManager(this,3);
recyclerView.setLayoutManager(layoutManager);Code language: JavaScript (javascript)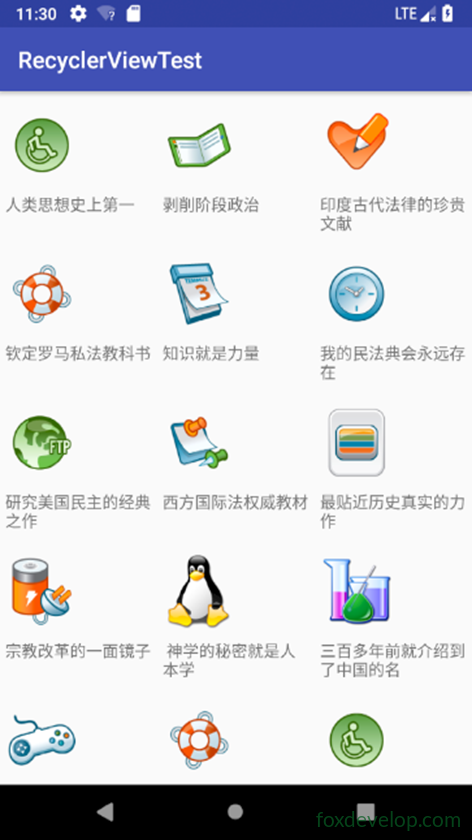
RecyclerView
Previous: Adapter 内でコントロールが取得できない
Next: フラグメント Fragment