控制項使用 – TextView
用於在介面上顯示一段文字資訊。
<TextView
    android:id="@+id/text_view"
    android:layout_width="wrap_content"
    android:layout_height="wrap_content"
    android:text="第三個活動" />Code language: HTML, XML (xml)
android:id 目前控制項的唯一識別碼
android:layout_width 寬度
android:layout_height 高度
Android 的所有控制項都有這兩個屬性,共有三種取值:match_parent、fill_parent、wrap_content
android:text 文字內容
其中一種代表由父容器決定尺寸
另一種代表依內容自動調整
當然除了上面三種,你也可以直接設定固定大小。但這樣在不同螢幕會有適配問題。
android:gravity=”center”
文字對齊方式,top bottom left right center
android:textSize=”24sp”
文字大小
android:textColor=”#00ff00″
Android 設定字型大小使用 sp 做單位。
<?xml version="1.0" encoding="utf-8"?>
<LinearLayout xmlns:android="http://schemas.android.com/apk/res/android"
    android:orientation="vertical" android:layout_width="match_parent"
    android:layout_height="match_parent">
    <TextView
        android:id="@+id/textview"
        android:layout_width="match_parent"
        android:layout_height="wrap_content"
        android:text="這裡只是顯示文字"
        android:gravity="center_vertical"
        android:textSize="28sp"
        android:textColor="#57d038"
        />
</LinearLayout>Code language: HTML, XML (xml)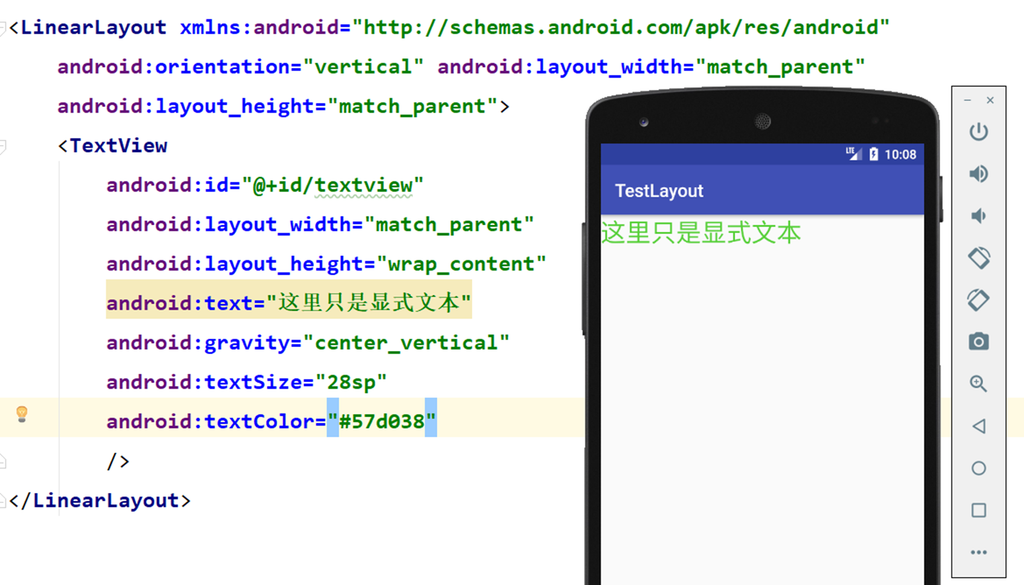
控制項使用 – Button
用來與使用者互動的控制項。
<Button
    android:id="@+id/button"
    android:layout_width="match_parent"
    android:layout_height="wrap_content"
    android:text="離開應用程式" />Code language: HTML, XML (xml)
取消英文字母自動轉大寫
android:textAllCaps = “false”
加入點擊監聽事件
public class MainActivity extends AppCompatActivity {
    @Override
    protected void onCreate(Bundle savedInstanceState) {
        super.onCreate(savedInstanceState);
        setContentView(R.layout.textview_layout);
        Button bt = (Button) findViewById(R.id.button);
        bt.setOnClickListener(new View.OnClickListener(){
            @Override
            public void onClick(View v){
                //
            }
        });
    }
}Code language: JavaScript (javascript)
透過實作介面的方式加入事件監聽器
public class MainActivity extends AppCompatActivity implements View.OnClickListener{
    @Override
    protected void onCreate(Bundle savedInstanceState) {
        super.onCreate(savedInstanceState);
        setContentView(R.layout.textview_layout);
        Button bt = (Button)findViewById(R.id.button);
        bt.setOnClickListener(this);// 在目前環境註冊事件監聽器
    }
    @Override
    public void onClick(View view) {
        switch (view.getId()) {
            case R.id.button:
                //處理按鈕點擊事件
                Toast.makeText(MainActivity.this,"foxdevelop.com",Toast.LENGTH_LONG).show();
                break;
        }
    }
}Code language: PHP (php)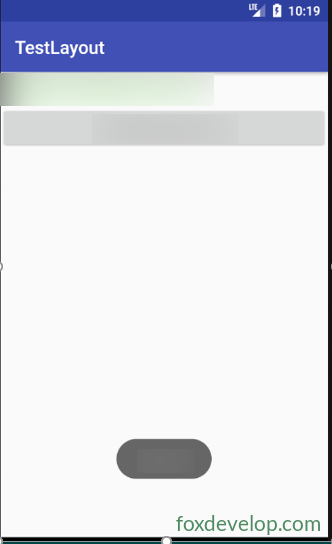
控制項使用 – EditText
EditText 讓使用者在控制項內輸入、編輯內容,並可在程式裡處理這些文字。
應用場景很廣
像是傳訊息、聊天軟體都會用到。
<EditText
    android:id="@+id/edit_text"
    android:layout_width="match_parent"
    android:layout_height="wrap_content" />Code language: HTML, XML (xml)
輸入框提示文字

加入屬性
android:hint=”請輸入你的姓名”
輸入文字過長時
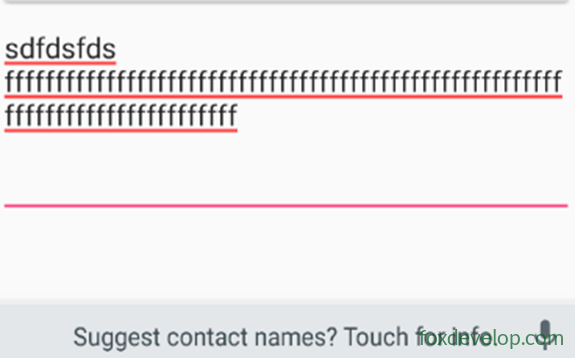
我們可以設定
最大行數
android:maxLines=”2″
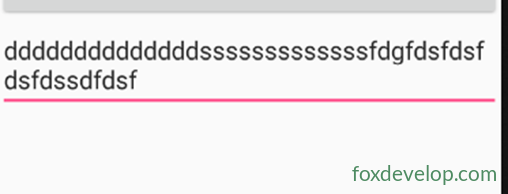
<EditText
    android:id="@+id/edit_text"
    android:layout_width="match_parent"
    android:layout_height="wrap_content"
    android:hint="請輸入你的姓名"
    android:maxLines="2"
    />Code language: HTML, XML (xml)
實驗:點擊按鈕顯示輸入框內容
//取得輸入框文字
EditText et = (EditText)findViewById(R.id.edit_text);
String input = et.getText().toString();
Toast.makeText(NormalActivity.this,input,Toast.LENGTH_LONG).show();Code language: JavaScript (javascript)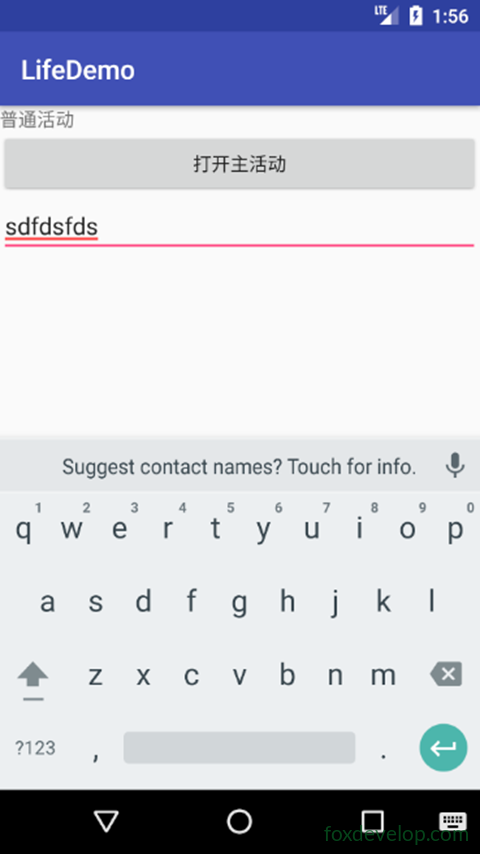
控制項使用 – ImageView
用於在介面上顯示圖片的控制項。
要先準備圖片檔
通常放在開頭為drawable的資料夾
在res下新增drawable-xhdpi資料夾,放入img1.png img2.png兩張圖片

加入ImageView並設定圖片來源
<ImageView
    android:id="@+id/imageview1"
    android:layout_width="wrap_content"
    android:layout_height="wrap_content"
    android:src="@drawable/img1"
    />Code language: HTML, XML (xml)
點擊按鈕切換圖片
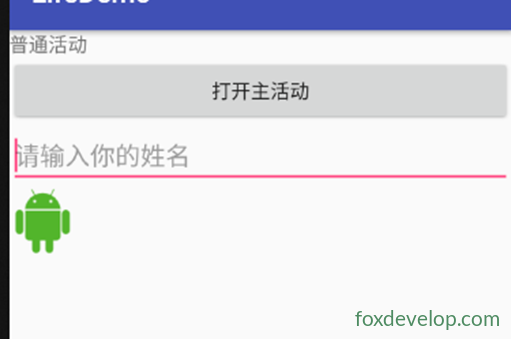
//點擊按鈕更換圖片
ImageView iv = (ImageView) findViewById(R.id.imageview1);
iv.setImageResource(R.drawable.img2);Code language: JavaScript (javascript)
控制項使用 – ProgressBar
在介面上顯示進度列
代表應用正在載入資料
使用方式很簡單
<ProgressBar
    android:id="@+id/progress_bar"
    android:layout_width="match_parent"
    android:layout_height="wrap_content" />Code language: HTML, XML (xml)
所有控制項都有這個屬性
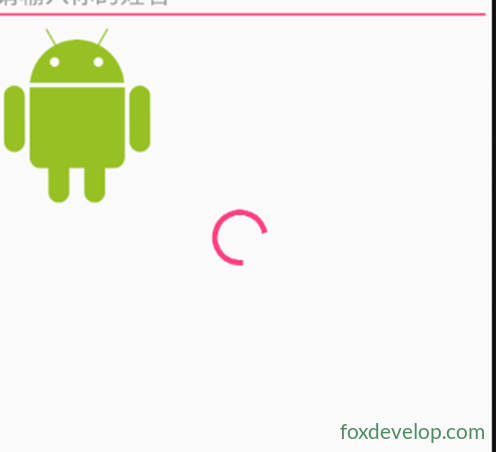
visibility屬性有三個選項:
visible 顯示,預設值
invisible 隱藏,但仍佔據原本版面大小(可理解為透明)
gone 不顯示,也不佔用畫面空間
透過setVisibility來修改
View.VISIBLE
View.INVISIBLE
View.GONE
點擊按鈕切換顯示或隱藏進度列
//點擊按鈕切換顯示/隱藏進度列
ProgressBar pb = (ProgressBar) findViewById(R.id.progress_bar);
if (pb.getVisibility()==View.GONE){
    pb.setVisibility(View.VISIBLE);
}
else {
    pb.setVisibility(View.GONE);
}Code language: JavaScript (javascript)
設定進度列樣式
style=”?android:attr/progressBarStyleHorizontal”
android:max=”100″ 設定進度最大值
動態更新進度
//動態修改進度數值
ProgressBar pb = (ProgressBar) findViewById(R.id.progress_bar);
pb.setProgress(pb.getProgress()+10);Code language: JavaScript (javascript)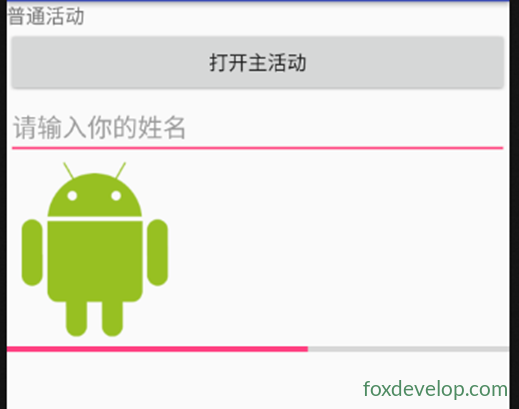
控制項使用 – AlertDialog
AlertDialog 在目前介面彈出對話視窗。
這個對話視窗會蓋在所有UI元素上方。
通常用於重要提示或警告訊息。
例如防止使用者誤刪重要資料時彈出警告。
點擊按鈕觸發
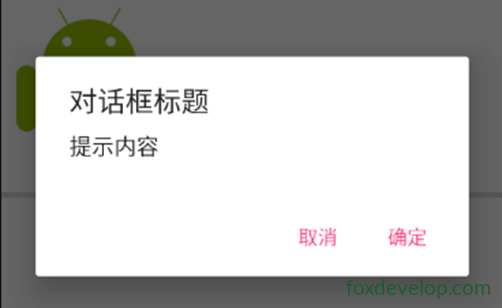
這個控制項不需要在佈局檔加入。

完全可以直接在Java程式裡建立
//建立對話視窗
AlertDialog.Builder ad = new AlertDialog.Builder(NormalActivity.this);
ad.setTitle("對話視窗標題");
ad.setMessage("提示內容");
ad.setCancelable(false);
ad.setPositiveButton("確定", new DialogInterface.OnClickListener() {
    @Override
    public void onClick(DialogInterface dialogInterface, int i) {
        //按下確定要執行的動作
        Toast.makeText(NormalActivity.this,"你按下確定", Toast.LENGTH_LONG).show();
    }
});
ad.setNegativeButton("取消", new DialogInterface.OnClickListener() {
    @Override
    public void onClick(DialogInterface dialogInterface, int i) {
        //按下取消要執行的動作
        Toast.makeText(NormalActivity.this,"你按下取消", Toast.LENGTH_LONG).show();
    }
});
ad.show();Code language: JavaScript (javascript)
控制項使用 – ProgressDialog
ProgressDialog 和 AlertDialog 很像,都會在畫面彈出對話視窗。
差異在 ProgressDialog 內含進度列。
多用於耗時操作,提示使用者稍候。
//ProgressDialog 使用範例
ProgressDialog pd = new ProgressDialog(NormalActivity.this);
pd.setTitle("標題");
pd.setMessage("內容");
pd.setCancelable(true);
pd.show();Code language: JavaScript (javascript)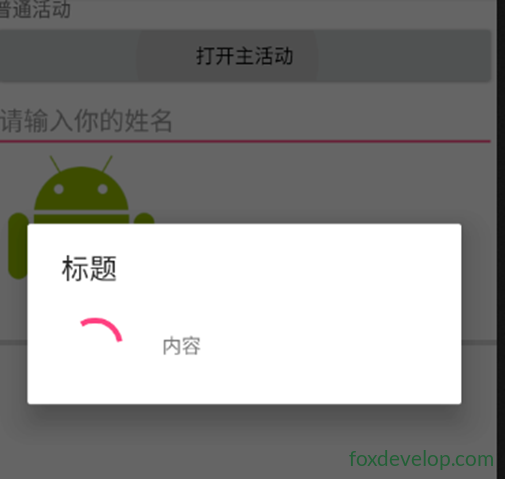
控制項