What Is an Activity and How to Add One Manually
1. What Is an Activity?
An Activity is a component in an Android app that provides a user interface and is mainly used for interacting with the user.
| Key Point | Description |
|---|---|
| Core Responsibility | Hosts the UI and handles user interactions (taps, input, etc.) |
| Quantity | An app can contain zero or more activities (apps without any activity can still run, e.g., background-only service apps) |
| Nature | Each activity corresponds to a full-screen window or a single screen |
2. Creating an Activity Manually (Without Templates)
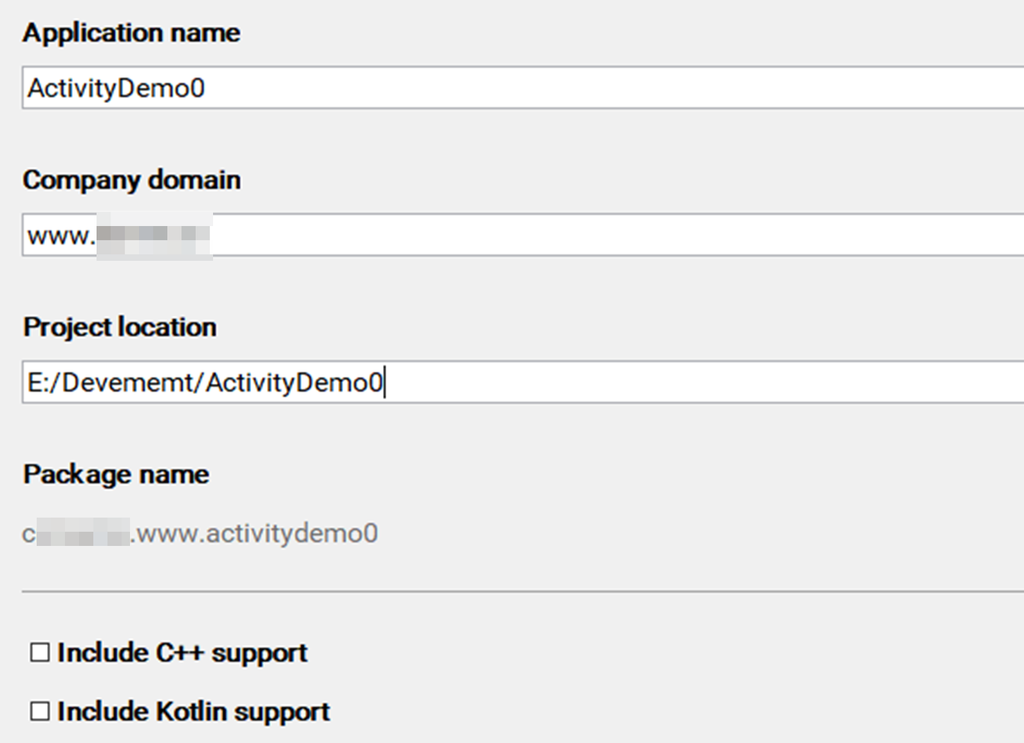
2.1 Create the Project
- Create a new project and name it ActivityDemo
- Choose the Add No Activity template (no activity will be generated automatically)
- The project path must not contain Chinese characters
- An internet connection is required during creation (to download Gradle dependencies)
If you are offline, you will see this error:
Gradle 'ActivityDemo' project refresh failed
Error:Cause: dl.google.comCode language: JavaScript (javascript)
Without Gradle loaded, the project won’t be split into packages automatically, and you won’t be able to add activities normally.
2.2 Create the Activity Class
Right-click java/cn.bamn.www.activitydemo/ → New → Java Class
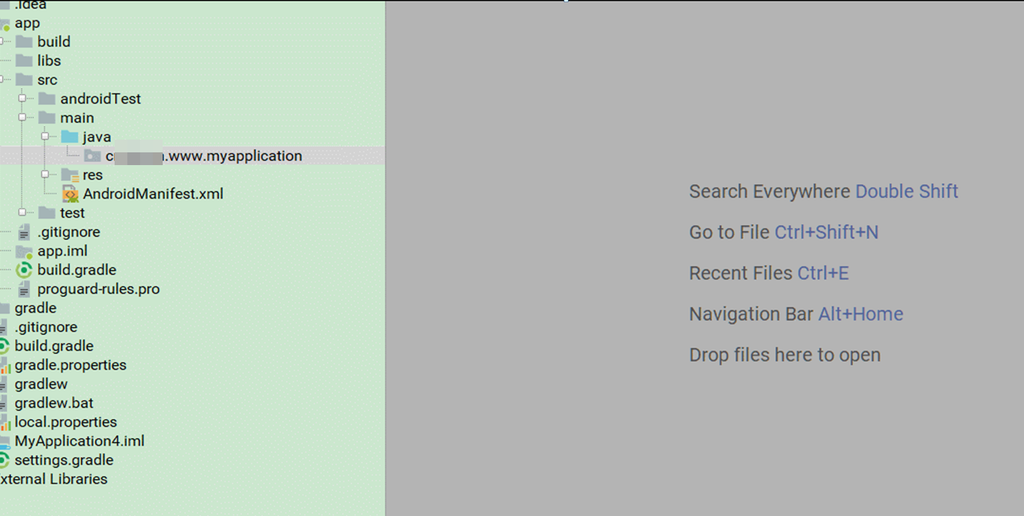
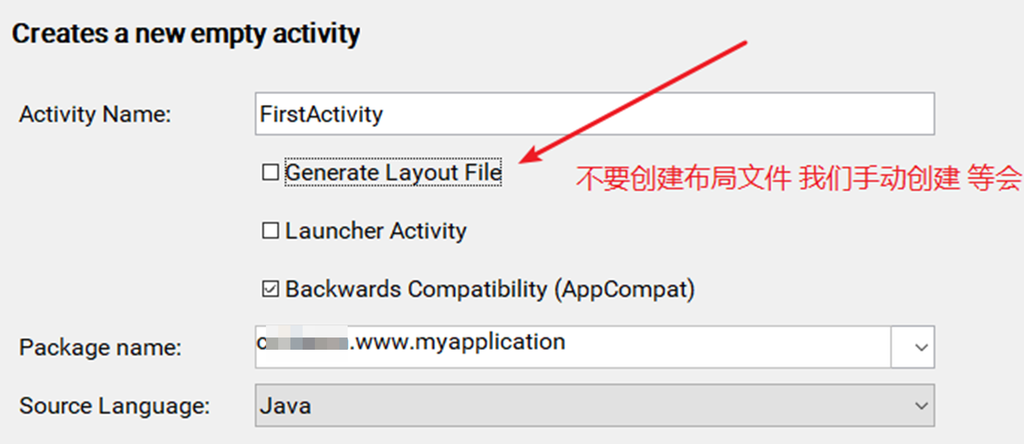
Name it FirstActivity and extend AppCompatActivity:
package cn.bamn.www.activitydemo;

import android.os.Bundle;
import androidx.appcompat.app.AppCompatActivity;

public class FirstActivity extends AppCompatActivity {

    @Override
    protected void onCreate(Bundle savedInstanceState) {
        super.onCreate(savedInstanceState);
    }
}Code language: JavaScript (javascript)
3. Creating a Layout File
3.1 Create a New Layout
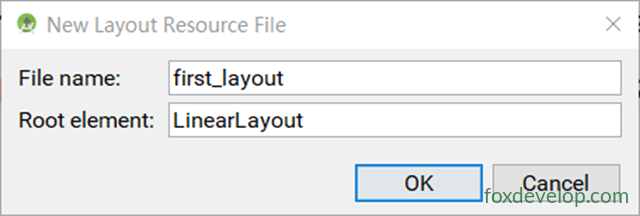
Right-click res/layout → New → Layout Resource File
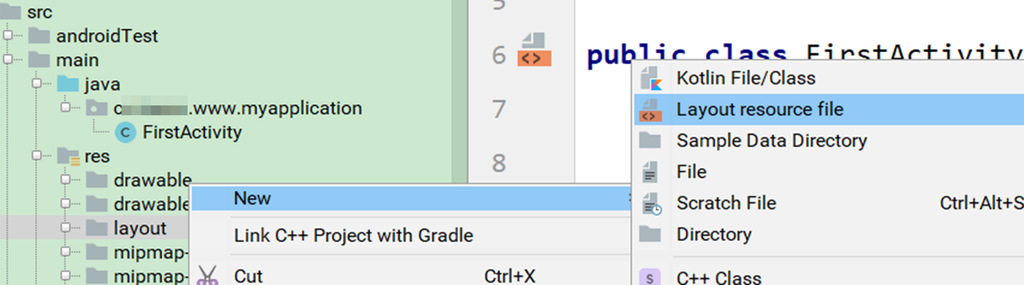
| Parameter | Value |
|---|---|
| File name | first_layout |
| Root element | LinearLayout |
3.2 Write the Layout Code
Open first_layout.xml and add a button:
<?xml version="1.0" encoding="utf-8"?>
<LinearLayout xmlns:android="http://schemas.android.com/apk/res/android"
    android:layout_width="match_parent"
    android:layout_height="match_parent"
    android:orientation="vertical">

    <Button
        android:id="@+id/button"
        android:layout_width="match_parent"
        android:layout_height="wrap_content"
        android:text="Join FoxDevelop" />

</LinearLayout>Code language: HTML, XML (xml)
3.3 Key Attribute Explanation
| Attribute | Description |
|---|---|
android:id="@+id/button" | Defines a unique ID for the button. The + means this ID is being defined for the first time in this XML, not referenced from existing resources |
android:layout_width="match_parent" | Width fills the parent container |
android:layout_height="wrap_content" | Height adjusts to fit the content |
android:text | Text displayed on the button |
+idvs no+:
@+id/xxx→ Define a new ID (used when creating for the first time)@id/xxx→ Reference an existing ID (e.g., when referencing between layouts)
4. Loading the Layout in the Activity
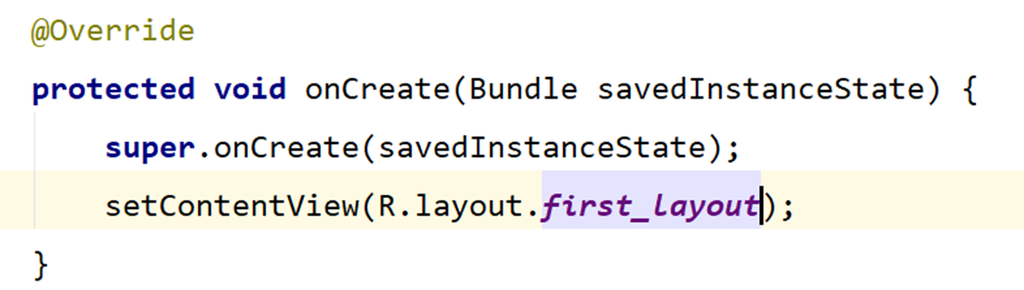
Go back to FirstActivity and call setContentView() inside onCreate():
@Override
protected void onCreate(Bundle savedInstanceState) {
    super.onCreate(savedInstanceState);
    setContentView(R.layout.first_layout);
}Code language: CSS (css)| Code | Purpose |
|---|---|
setContentView() | Binds the XML layout file to the activity |
R.layout.first_layout | References the res/layout/first_layout.xml layout |
5. Registering the Activity in AndroidManifest.xml
Open AndroidManifest.xml and register it inside the <application> tag:
<activity android:name=".FirstActivity">
    <intent-filter>
        <action android:name="android.intent.action.MAIN" />
        <category android:name="android.intent.category.LAUNCHER" />
    </intent-filter>
</activity>Code language: HTML, XML (xml)| Configuration | Purpose |
|---|---|
android:name=".FirstActivity" | Registers the activity (. stands for the current package name) |
MAIN + LAUNCHER | Sets it as the launch entry point; opened first when the app icon is tapped |
An unregistered activity cannot be used; the system will throw an
ActivityNotFoundException.
Activity