Download the Installer
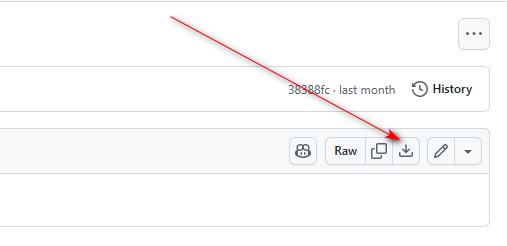
This tutorial uses Visual Studio 2022 for development. You can also use the latest Visual Studio 2026 if you have access to it. We’re using the Community edition, which can be downloaded from the link below: InstallTools/vs_Community2022.exe at main · xzapps/InstallTools. Open the page and click the button indicated by the arrow to start downloading.
After the download finishes, double-click vs_Community2022.exe to launch the installation. The installer comes with multilingual support and will automatically adapt to your system’s language setting. Keep in mind this is an online installer—all necessary files will be downloaded during setup, so a stable internet connection is mandatory. Offline installation is not available. If you want to launch the installer in a different language, run this command in your terminal: vs_Community2022.exe –locale en-US
Installation Setup
Several critical workloads and components must be checked during installation; skipping any of them will prevent you from building WinUI 3 C++ projects successfully.
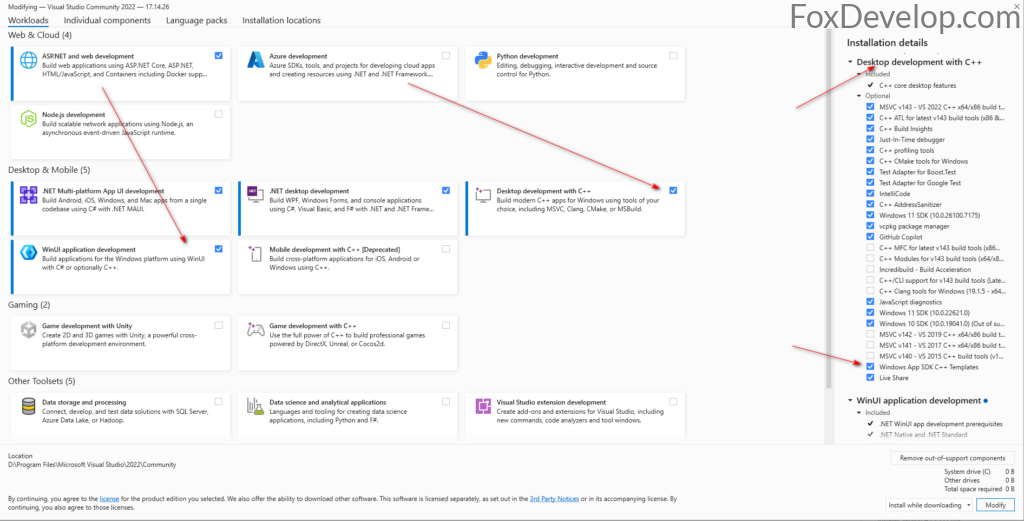
Most people forget to tick Windows App SDK C++ Templates shown on the right panel, so make sure you select this item. Match all other checked options exactly as shown in the screenshot for a fully compatible environment.
If you do not plan to develop C# applications, you only need to select the two options under Desktop & Mobile on the left sidebar as marked in the screenshot.
There is one more essential component on the right tab you cannot miss:
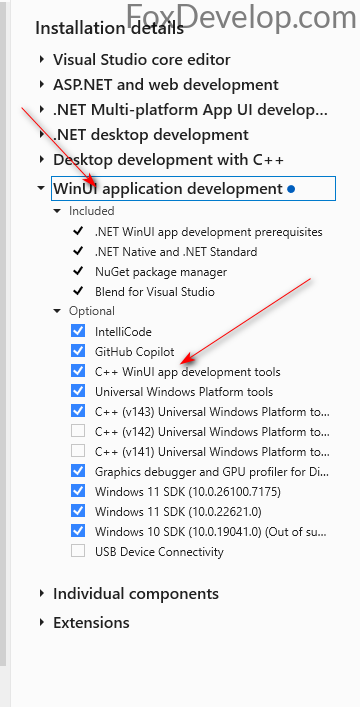
The component pointed to by the arrow is unchecked by default—be sure to enable it. Double-check the rest of your selections against the screenshot before moving forward.
Once all required components are selected, hit the install button in the bottom-right corner to begin the setup process.
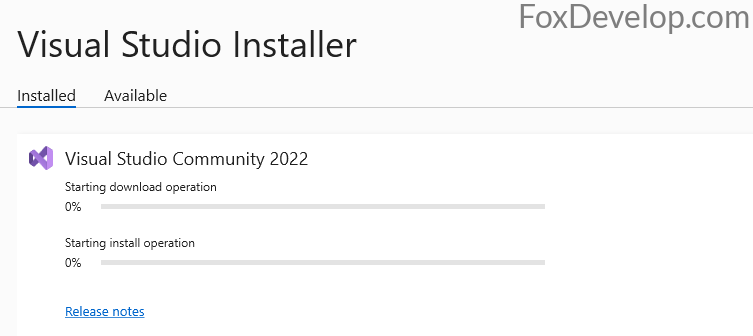
The installer will download and install components simultaneously; simply wait for the process to finish. Download speeds are generally fast on stable connections.
If Visual Studio is already running on your machine, you may see this pop-up prompt:
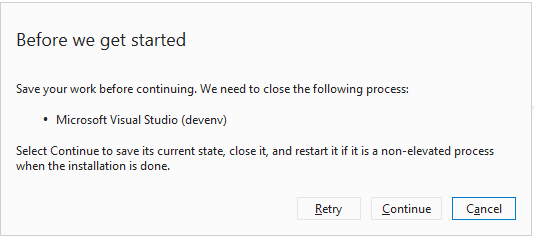
Close all open Visual Studio windows as instructed, then click the Retry button to resume installation.
Create Your First WinUI 3 C++ Project in Visual Studio
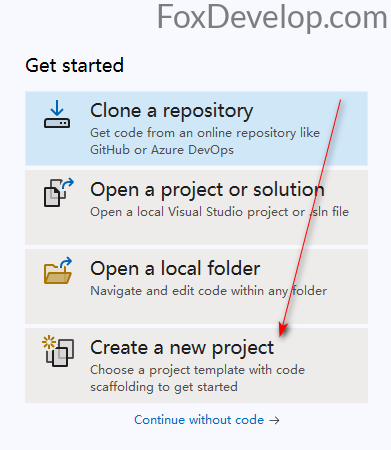
Once installation completes, launch Visual Studio 2022 and we’ll create our first WinUI 3 C++ project.
Select Create a new project from the start screen.
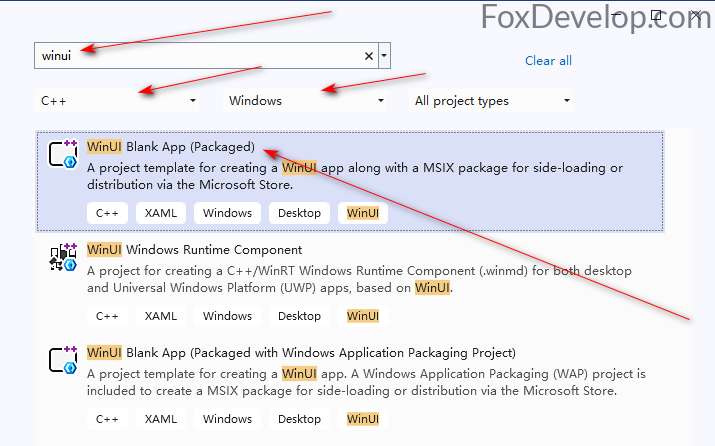
Use the search bar on the right to filter project templates. Set the language filter to C++ and platform filter to Windows, then choose the top template: Blank App, Packaged (WinUI 3 in Desktop).
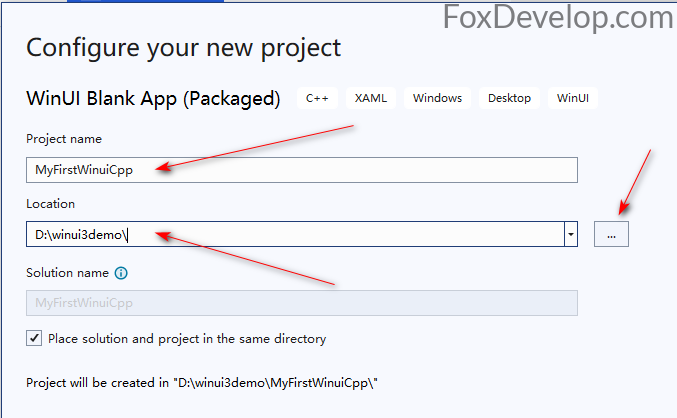
Enter a project name, choose a save directory for your project files, then click Create in the bottom-right corner.
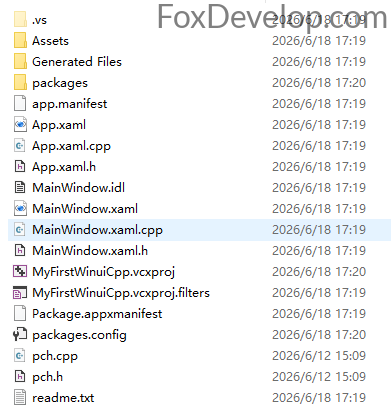
After creation finishes, your project directory will contain the following files:
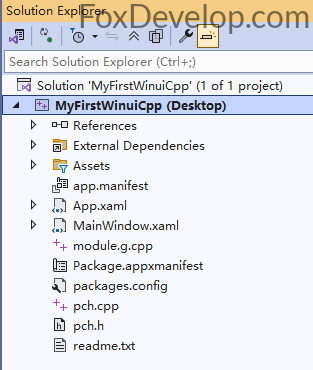
Visual Studio will automatically load your new project, which looks like this:
To run the application, click the green play button or press the F5 shortcut key.

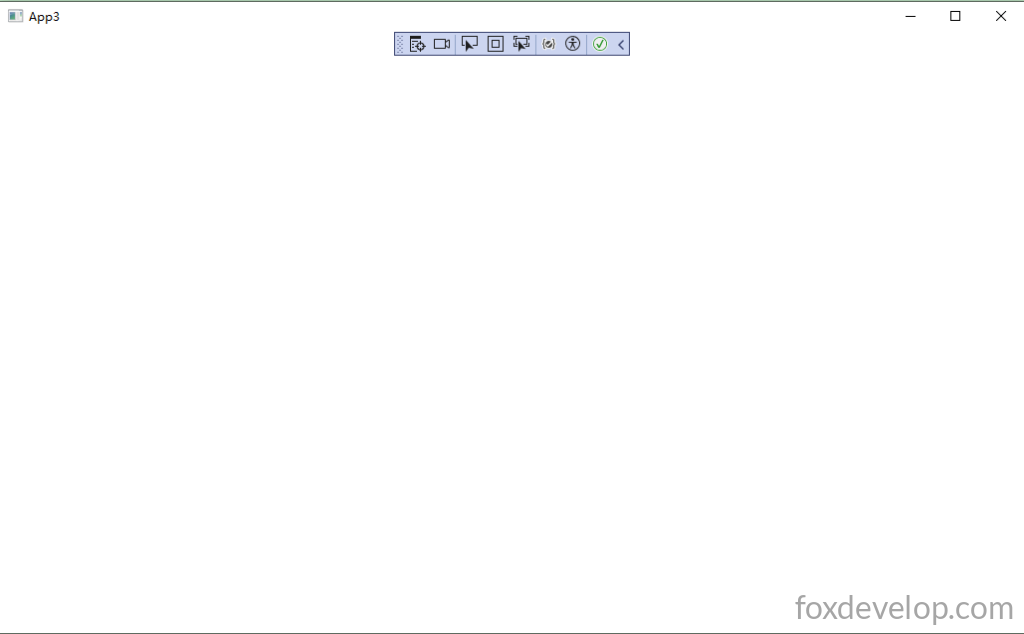
The app will launch as a blank window. Some versions of this template ship with a button that increments a counter on click, but our project loads an empty window by default. We’ll walk through adding a clickable counter button in later sections.